
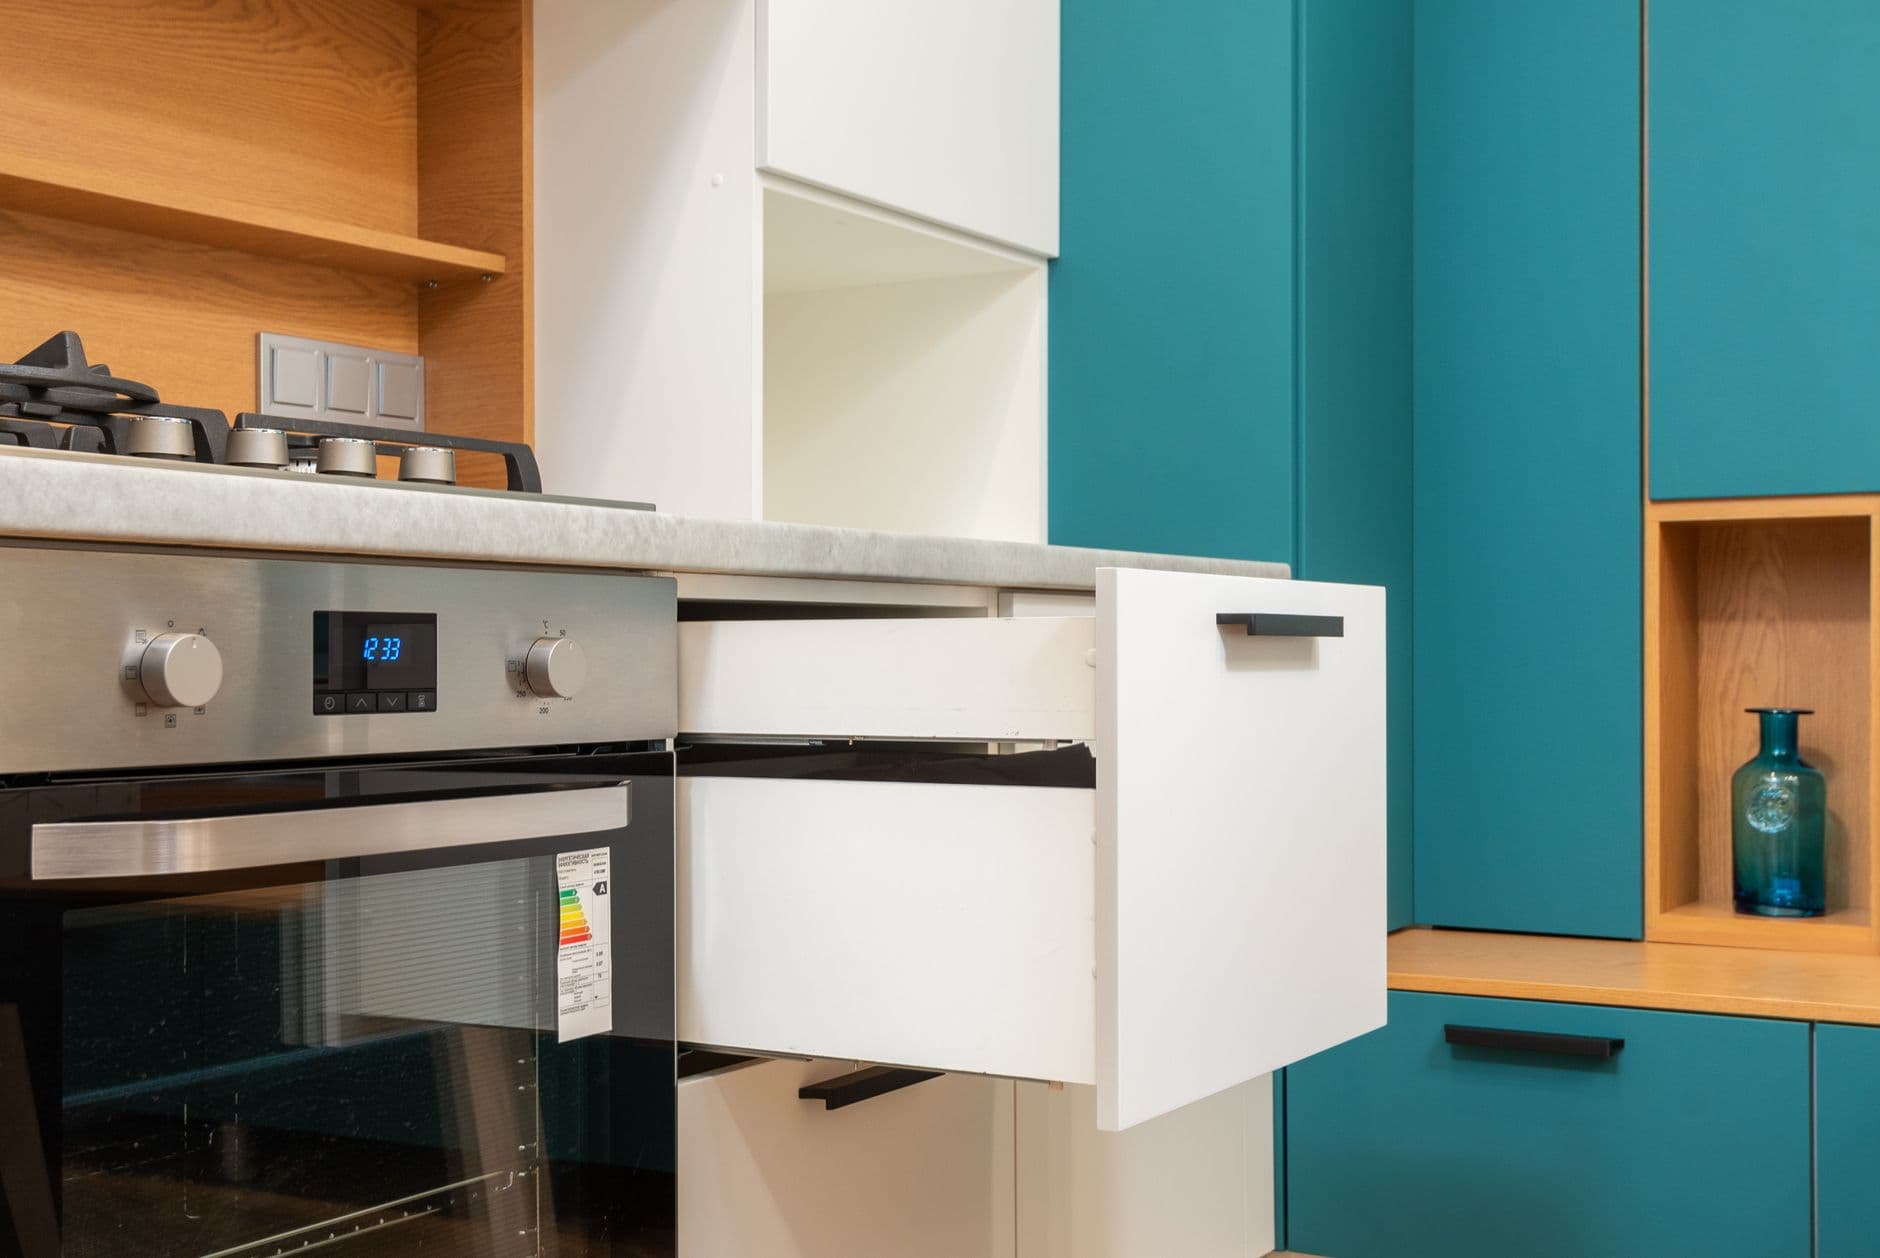
Why Cabinet Hardware Is the Highest-ROI Upgrade in Your Kitchen
I've walked through hundreds of kitchens in Portland — Sellwood bungalows, Beaverton new-builds, older craftsman homes in St. Johns — and the single fastest way to make a kitchen look like it got a $10,000 remodel is swapping out the hardware. New knobs and pulls cost $2–$8 a piece at most, take a Saturday morning, and the transformation is immediate. With clear skies and highs in the mid-80s next week, it's actually a perfect time to knock out an indoor project like this before the heat drives you to the coast.
Pick the Right Finish (and Don't Cheap Out on Quality)
Here's where most people go wrong: they buy the builder-grade chrome pulls from the big box store because they look fine in the package. Six months later they're tarnishing or the finish is flaking. In Portland's humidity — especially if you're near the river or in a basement-level kitchen — that cheap chrome doesn't last.
I always tell homeowners to go with brushed nickel or matte black from Liberty Hardware or Amerock. Both brands hold up. Matte black in particular is forgiving with water spots, which matters in a kitchen. If you've got a craftsman home and want to stay period-appropriate, oil-rubbed bronze still looks sharp and ages gracefully. Avoid anything labeled "antique brass" at the lower price points — it tends to peel.
The Measuring Step Everyone Rushes
The mistake I see all the time: people buy pulls without measuring their existing hole spacing first. Cabinet pulls have two screws, and the distance between those holes — called the "center-to-center" measurement — has to match. Standard is 3 inches or 3-3/4 inches, but it varies. Measure before you buy anything.
For knobs, it's simpler — one hole, one screw. But if you're switching from knobs to pulls, you'll need to drill new holes. That's doable with a cabinet hardware template jig (about $12 on Amazon, worth every penny) and a handheld drill. Go slow, use a sharp bit, and put painter's tape over the spot before drilling — it prevents tear-out on painted or stained cabinet faces.
Installation Is Genuinely Easy — With One Caveat
This is a legitimate DIY job. If you can use a screwdriver and a drill, you can do this in a few hours for an average kitchen. The screws that come with hardware are often too long for thinner cabinet doors, so pick up a pack of #8-32 machine screws in 1-inch length as backup.
The one situation where I'd say call someone: if your cabinets are older and the wood around the existing holes is stripped out or damaged. Filling and re-drilling those spots cleanly takes a little more know-how to get right.
If you run into that — or just want the whole job done in an afternoon without thinking about it — that's exactly what we do at EVN Handyman. We've knocked out hardware upgrades all across Portland and the surrounding areas, usually in a single visit. Reach out if you want a hand.